The Ultimate Butter Biscuits
Indulge in the ultimate butter biscuit perfection: flavorful, golden pillows of delight infused with rich buttery goodness.
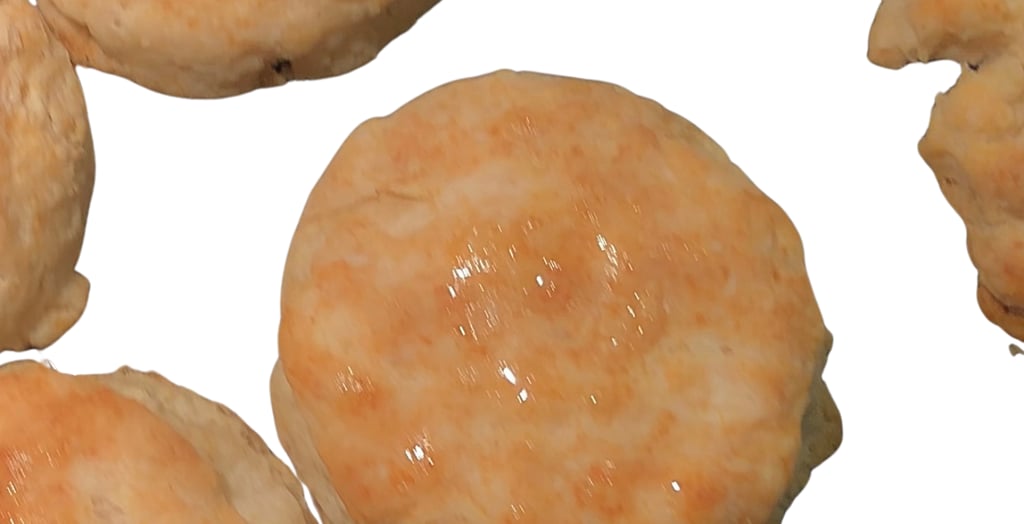

Are you tired of wasting precious time running out to the grocery store every time a craving for flaky, buttery biscuits strikes? Say goodbye to those last-minute trips and hello to the ultimate butter biscuit recipe that's both simple and satisfying. With just a handful of pantry staples and a few easy steps, you can have a batch of these delightful biscuits ready in less time than it takes to make that store run. Whether you're starting your day with a breakfast of biscuits and country ham, enjoying a lunchtime treat with warm jelly and butter, or enhancing any dinner meal, these soft, flavorful biscuits are sure to impress. So why wait? Skip the hassle and treat yourself to homemade bliss today. Your taste buds will thank you!
Biscuits held a special place in our family's Sunday traditions when I was growing up. As we gathered around the table, the aroma of freshly baked biscuits filled the air, bringing with it a sense of warmth and comfort. In a household where every penny counted, biscuits were a budget-friendly yet delicious way for Mom to nourish our hungry bellies. With just basic pantry staples like flour and butter, she worked her magic, transforming humble ingredients into a feast fit for a king. And so, our love affair with biscuits began, rooted not only in their affordability but also in the memories they created around the table.
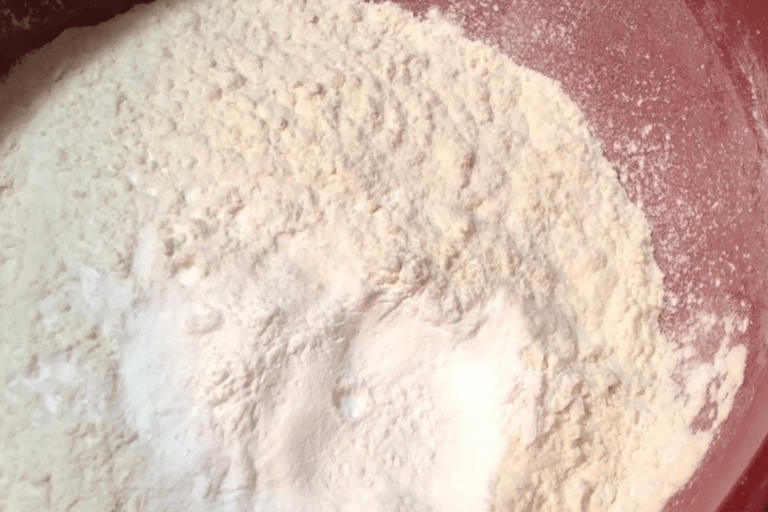
When it comes to baking the perfect biscuits, starting with the right dry ingredients is key. We're keeping it simple with everyday, versatile all-purpose flour and trusty baking powder. But here's a pro tip: before you start measuring, take a moment to ensure your flour hasn't settled too much in the bag or container. Give it a good whisk to fluff it up, or if you prefer, sift it before measuring. This step ensures accuracy and helps to avoid dense, heavy biscuits. And let's not forget about the baking powder – it's the secret ingredient that gives our biscuits that perfect rise. Before adding it to your mix, make sure it's still active.
To test the potency of your baking powder, there are a couple of simple methods you can use:
Water Test: Take a small bowl and add a teaspoon of baking powder to it. Then pour in a bit of hot water. If the baking powder is still active, it should immediately start to fizz and bubble. This reaction indicates that the baking powder is fresh and ready to use.
Vinegar Test: Similar to the water test, add a teaspoon of baking powder to a bowl. Instead of water, this time add a bit of vinegar (white or apple cider vinegar works well). Again, you should see immediate fizzing if the baking powder is active.
These tests help ensure that your biscuits (or any other baked goods) will rise properly, giving them that light and fluffy texture we all love. If your baking powder fails to react in either test, it's time to replace it with a fresh batch for optimal results. With these simple precautions, you'll be well on your way to biscuit success!
1. Dry Ingredients
2. Fats
Now, let's talk about the biscuit. Personally, I'm all about those full butter biscuits – they're just so indulgent! But hey, you can play around with the texture by switching up the fat you use. Butter adds a rich flavor, but because it contains water, it might not give you the fluffiest result. If you're after that classic fluffiness, you could try using shortening or even lard, either on their own or mixed with butter. Remember, the flavor of the biscuit is just as crucial as the gravy in this dish. If you're in the mood for some full-on buttery goodness, check out my Southern Style Butter Biscuits recipe. Trust me, you won't be disappointed!
3. Liquids
When it comes to choosing the right liquid for your biscuit dough, opting for whole milk is often the best bet. Its richness adds a lovely depth of flavor and helps achieve that perfect balance of tenderness and flakiness in your biscuits. However, if you decide to use a different liquid, such as buttermilk, it's important to adjust your recipe accordingly. Buttermilk's acidity requires a bit of baking soda to help with leavening. In this recipe, though, we're sticking with classic whole milk for simplicity and delicious results. Now, if you're feeling adventurous, you can experiment with heavy cream for an indulgent twist. Just keep in mind that while heavy cream lends an extra richness to your biscuits, they may not rise quite as high. So go ahead, choose your liquid wisely, and get ready to enjoy some homemade biscuit perfection!
Rich, Flavorful, Butter Biscuits
2 1/4 cup flour
1 TBS baking powder
1 tsp salt
1 1/2 tsp sugar
1 cups cold milk (may need a little more)
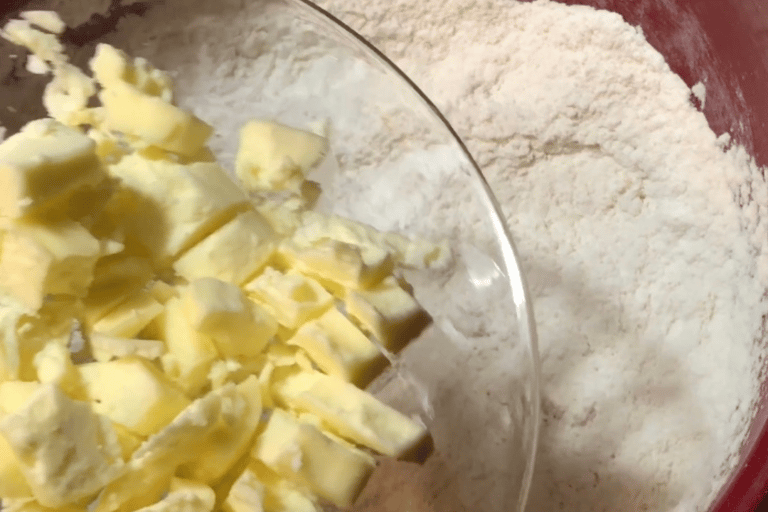
1 stick cold butter , the colder the better
Directions
Step 1: Preheat oven to 425 degrees. Whisk all dry ingredients together. (Flour, salt, sugar, baking powder.
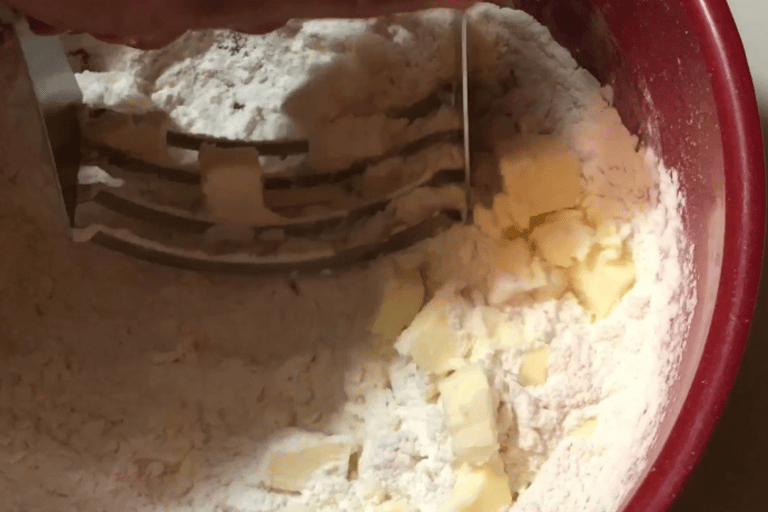
Step 2: Now, it's time to incorporate the cold, diced butter into the flour mixture. Using a pastry cutter or a dull dinner knife, cut the butter into the flour until the mixture resembles coarse crumbs with some larger, pea-sized pieces of butter still visible. This lumpy texture is key to achieving those flaky layers in your biscuits, so don't overwork the dough. Keep it light and airy for the best results.
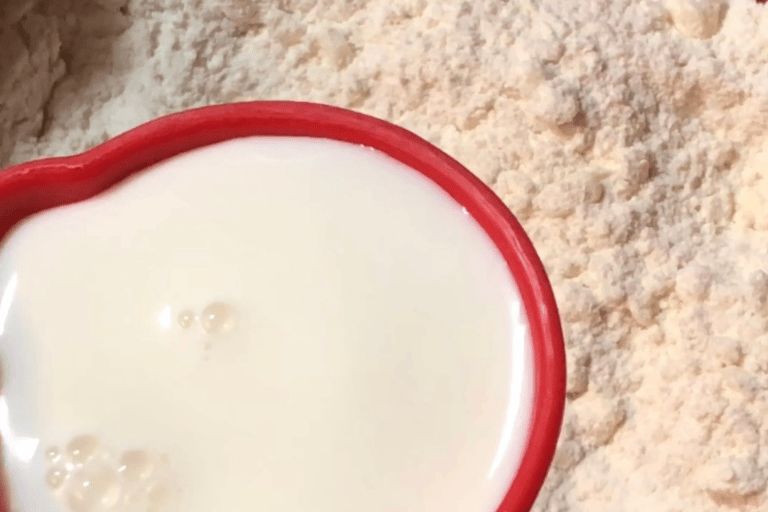
Step 3 : Pour the cold milk into the flour mixture and gently mix until just combined. Be careful not to overmix; a few lumps are perfectly fine. Overmixing can result in tough biscuits, so aim for a light touch to maintain that tender, flaky texture we're aiming for. Mixture will still be slightly wet.
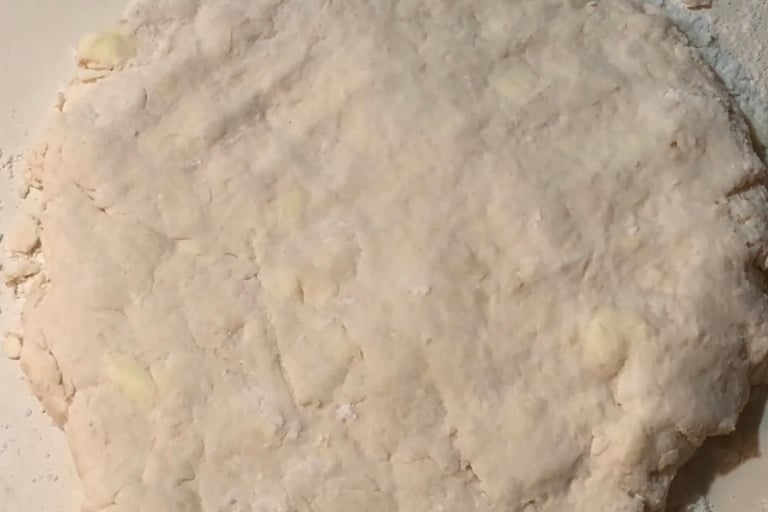
Step 4 :Turn out the wet dough onto a lightly floured surface. Sprinkle a small amount of flour on top of the dough, then gently gather it together into a ball. The dough should still be quite soft at this stage. You have the option to use a rolling pin for a smoother finish or your hands for a more rustic appearance. Flatten the dough into a sheet about 1/2 inch thick, ensuring it's evenly spread for uniform baking.
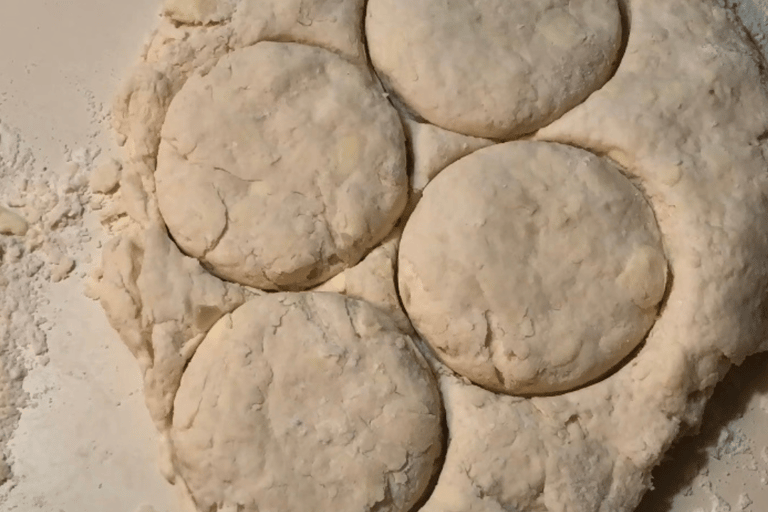
Step 5 : Now, it's decision time: how big do you want your biscuits? If you don't have a biscuit cutter on hand, don't fret. A drinking glass with a diameter of about 2 1/2 to 3 inches works perfectly for cutting out your biscuits. Just remember this golden rule: when cutting, press straight down into the dough without twisting. Twisting can seal the edges and prevent your biscuits from rising properly. So, whether you prefer them big or small, round or square, take your pick and cut out those perfect portions of biscuit dough.
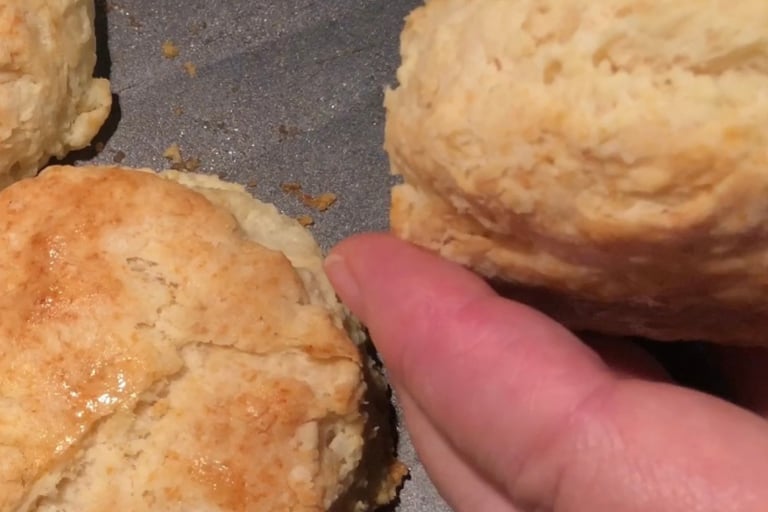
Step 6 : You can brush the tops of the biscuits with melted butter before baking for an extra touch of richness and flavor. And now, onto the final step: carefully transfer the cut biscuits to an ungreased baking sheet. Alternatively, if you prefer that classic Southern touch, feel free to use your trusty iron skillet instead. Bake the biscuits in the preheated oven until they are beautifully golden brown on top, typically around 12 to 15 minutes. Keep an eye on them towards the end of the baking time to ensure they don't overcook. Once they're done, remove them from the oven and let them cool slightly before serving. Enjoy your freshly baked biscuits warm from the oven!
More Than Just a Recipe







Bonus Recipe: Jam Biscuit
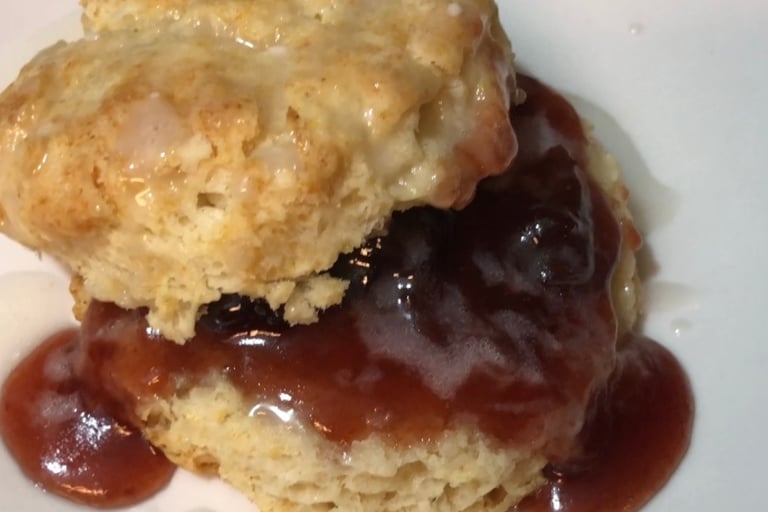

When it comes to enjoying your biscuits, you have two delightful options. First, you can stick with the biscuit recipe as written above. This creates a perfect balance, with the savory biscuit complementing the sweetness of the jam beautifully. Alternatively, if you're craving a slightly sweeter treat, you can increase the sugar in the biscuit recipe up to 2 tablespoons. This simple adjustment adds just the right amount of sweetness to your biscuits, making them a perfect match for your favorite jam or preserves. Whichever option you choose, you're in for a delicious treat!


